Category Archives: Easter
Hoppy Easter to You!
This simple craft creation is perfect for the young and old in your house! Create a paper bag “nest” to house your Easter treats. Include a fluffy little bird or chick to complete the look! Here’s how to make your own little “nest.”
You will need–
brown paper bags- lunch size or smaller
scissors* – *safety scissors for those wee, little ones
treats to place inside the paper bag “nest”
First–
* place a paper bag on the table
Cut approximately 1/2 to 3/4 off the top of the bag. Save the cut top half of the bag to “shred” for “nest” filling.
First, cut across 1/2 to 3/4 from the top of the bag.
Next,
• carefully open the paper bag and fold the top edges down, roll, and fold a few more times
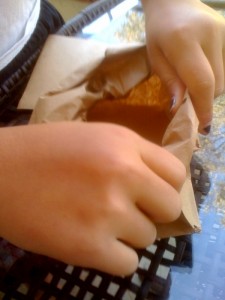
Gently roll the bag from the rim to the bottom.
Then,
• Scrunch the bottom corners in to make the little paper bag look “nest” like.
Shred the left over “cut” piece of bag for nest filling.
Finally,
• Add some jellybeans or Easter eggs to the nest. Place a small “chick” or “bird” into the paper “nest.”


